
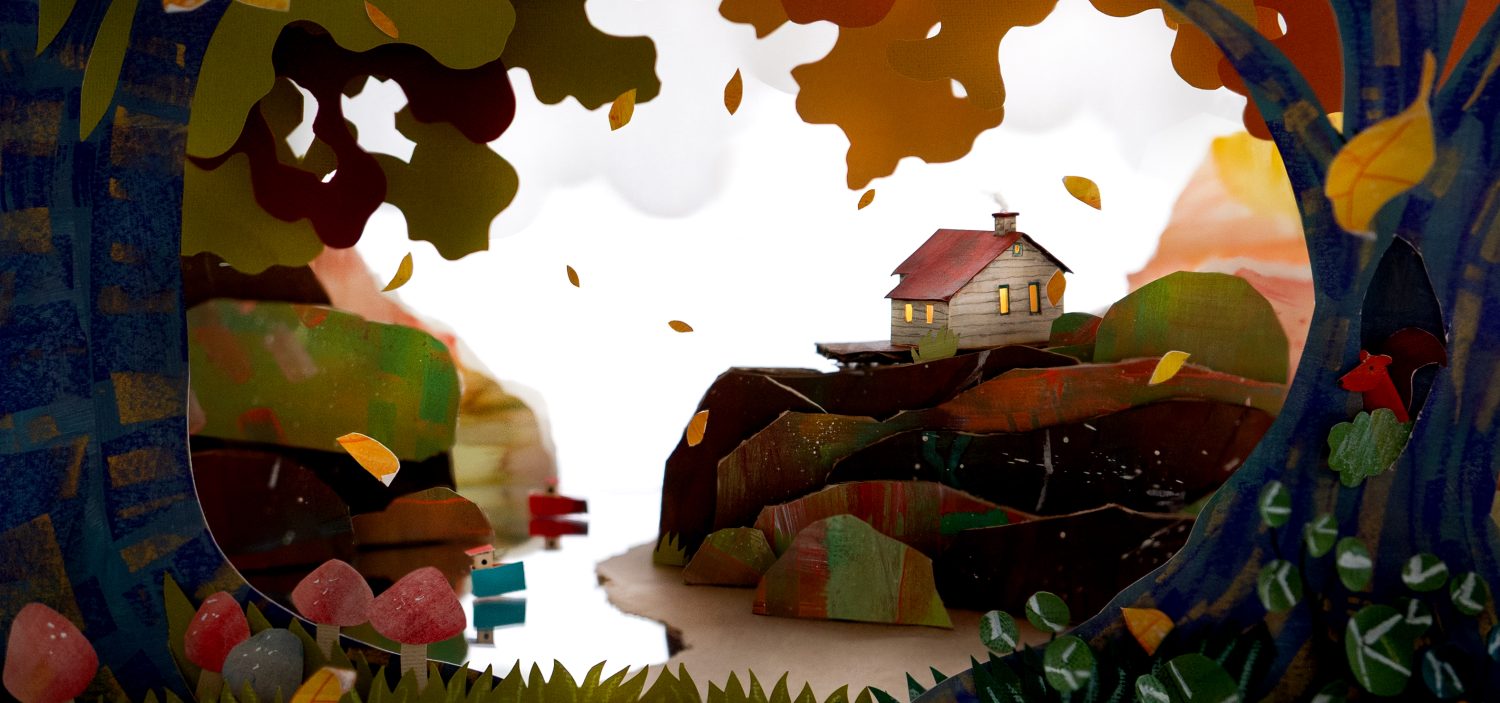
WIP

Since I started my blog, I’ve gotten great feedback and support from fellow miniature painters. I’ve also received a lot of questions from friends and family who don’t paint minis. So in this post I just wanted to give a very brief and basic run through of painting a model. In the future I’ll get more in-depth with my descriptions.
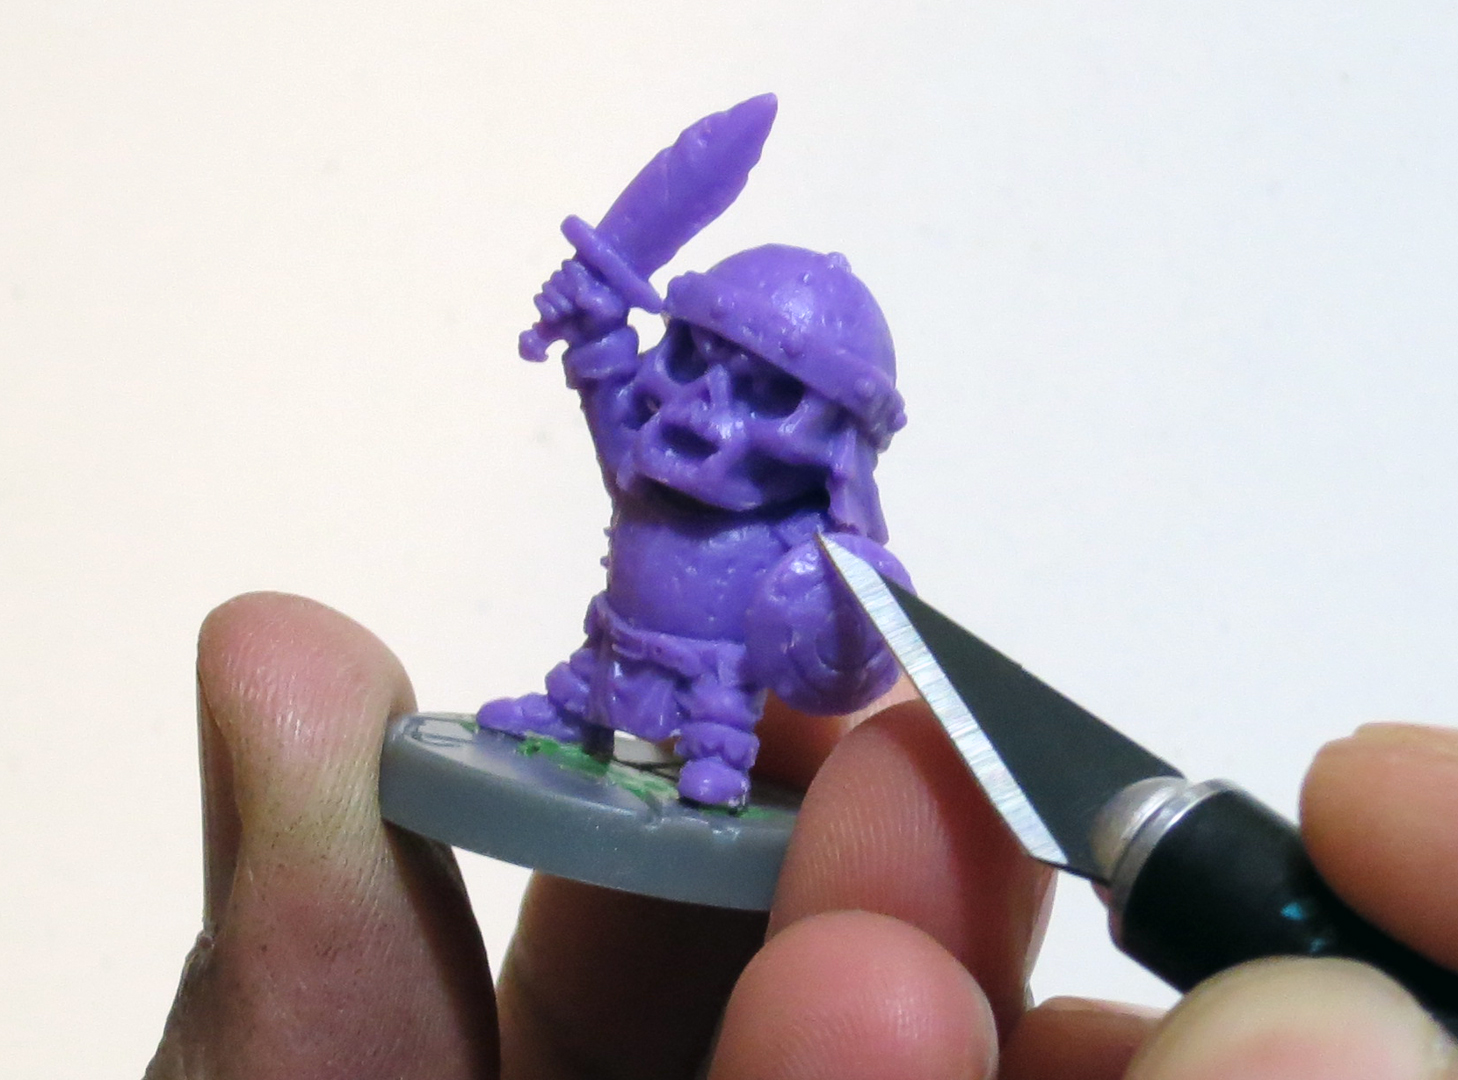
The very first thing that I do is clean the model of all imperfections such as mold lines, gaps and miscast areas. This Bonehead had some pretty nasty mold lines that I simply shaved off with an Exacto knife. He also has a big gap in his base that I filled in with some epoxy “green stuff”. Once all the touch ups are done I wash the model down with some warm water to remove any dust, chemicals and oil.
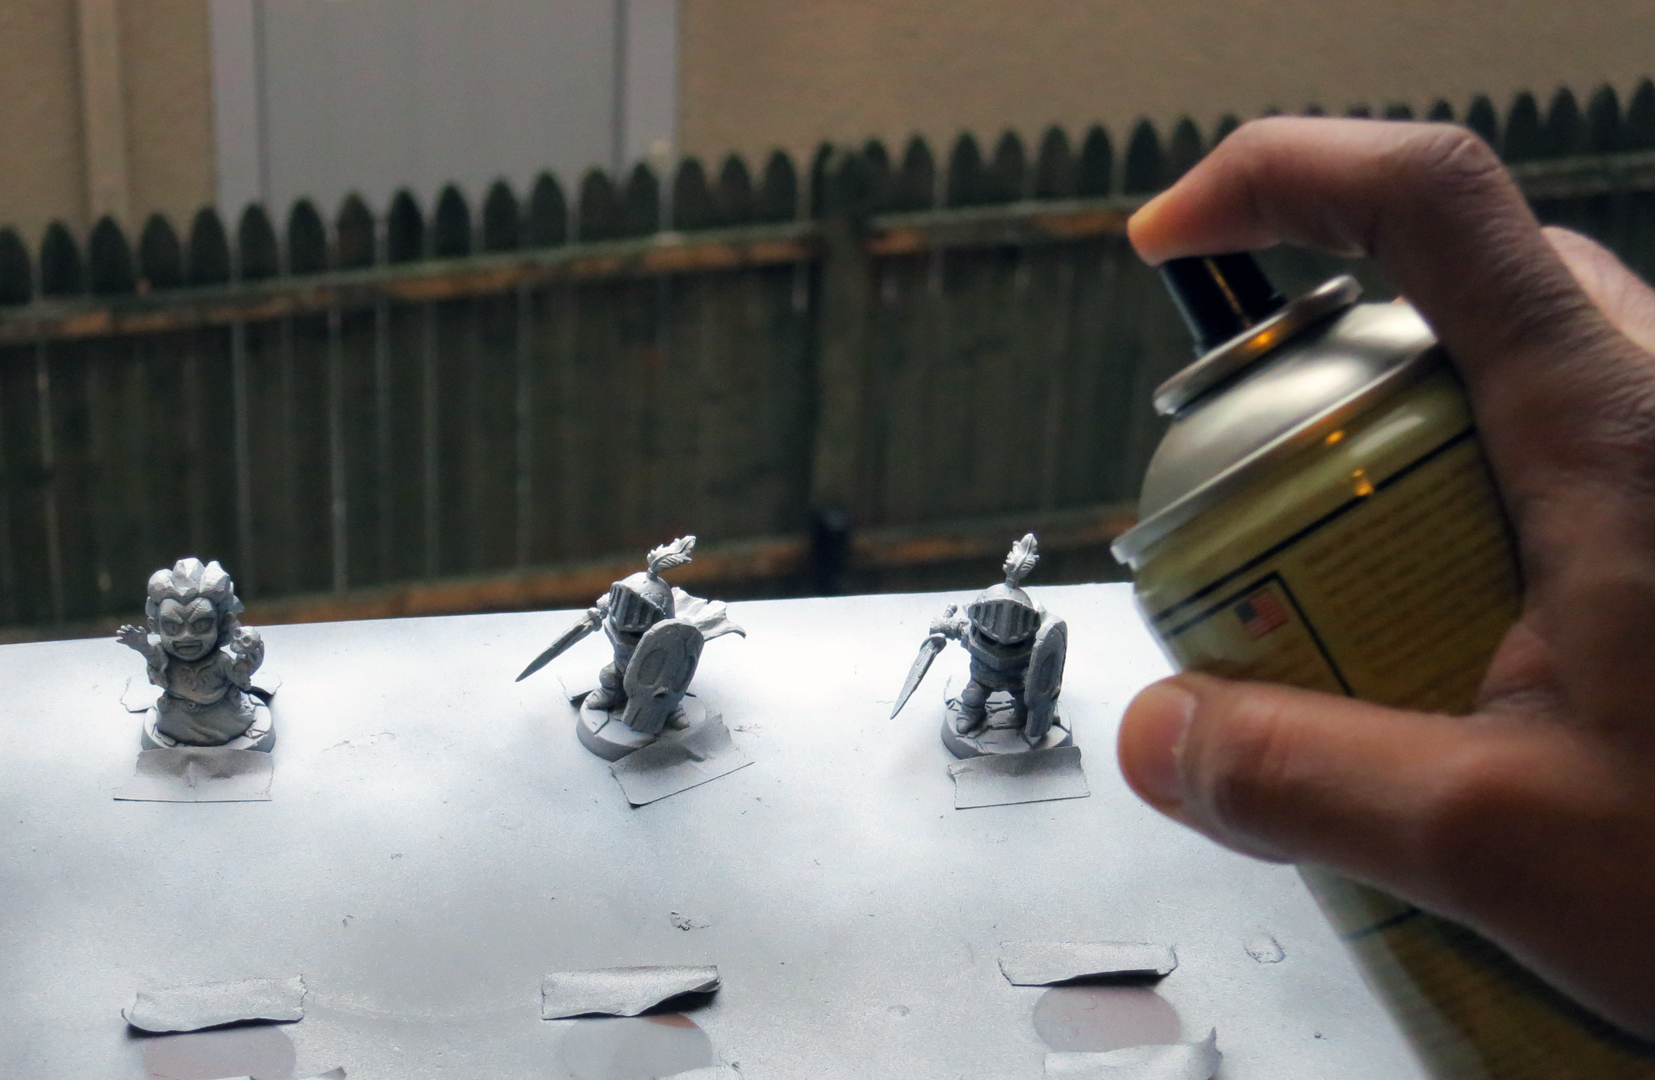
After cleaning is all done I prime the models. This is first step in painting the model and doing it right could me the difference between a pleasant experience and an awful one. The main thing is to prime in good dry weather that’s not too cold. Do it outdoors or else in a very well ventilated area. I prime out of my 2nd floor apartment window, which sucks when you accidentally drop a model to its DOOM. This is why I like to tape my figures down to a piece of board.
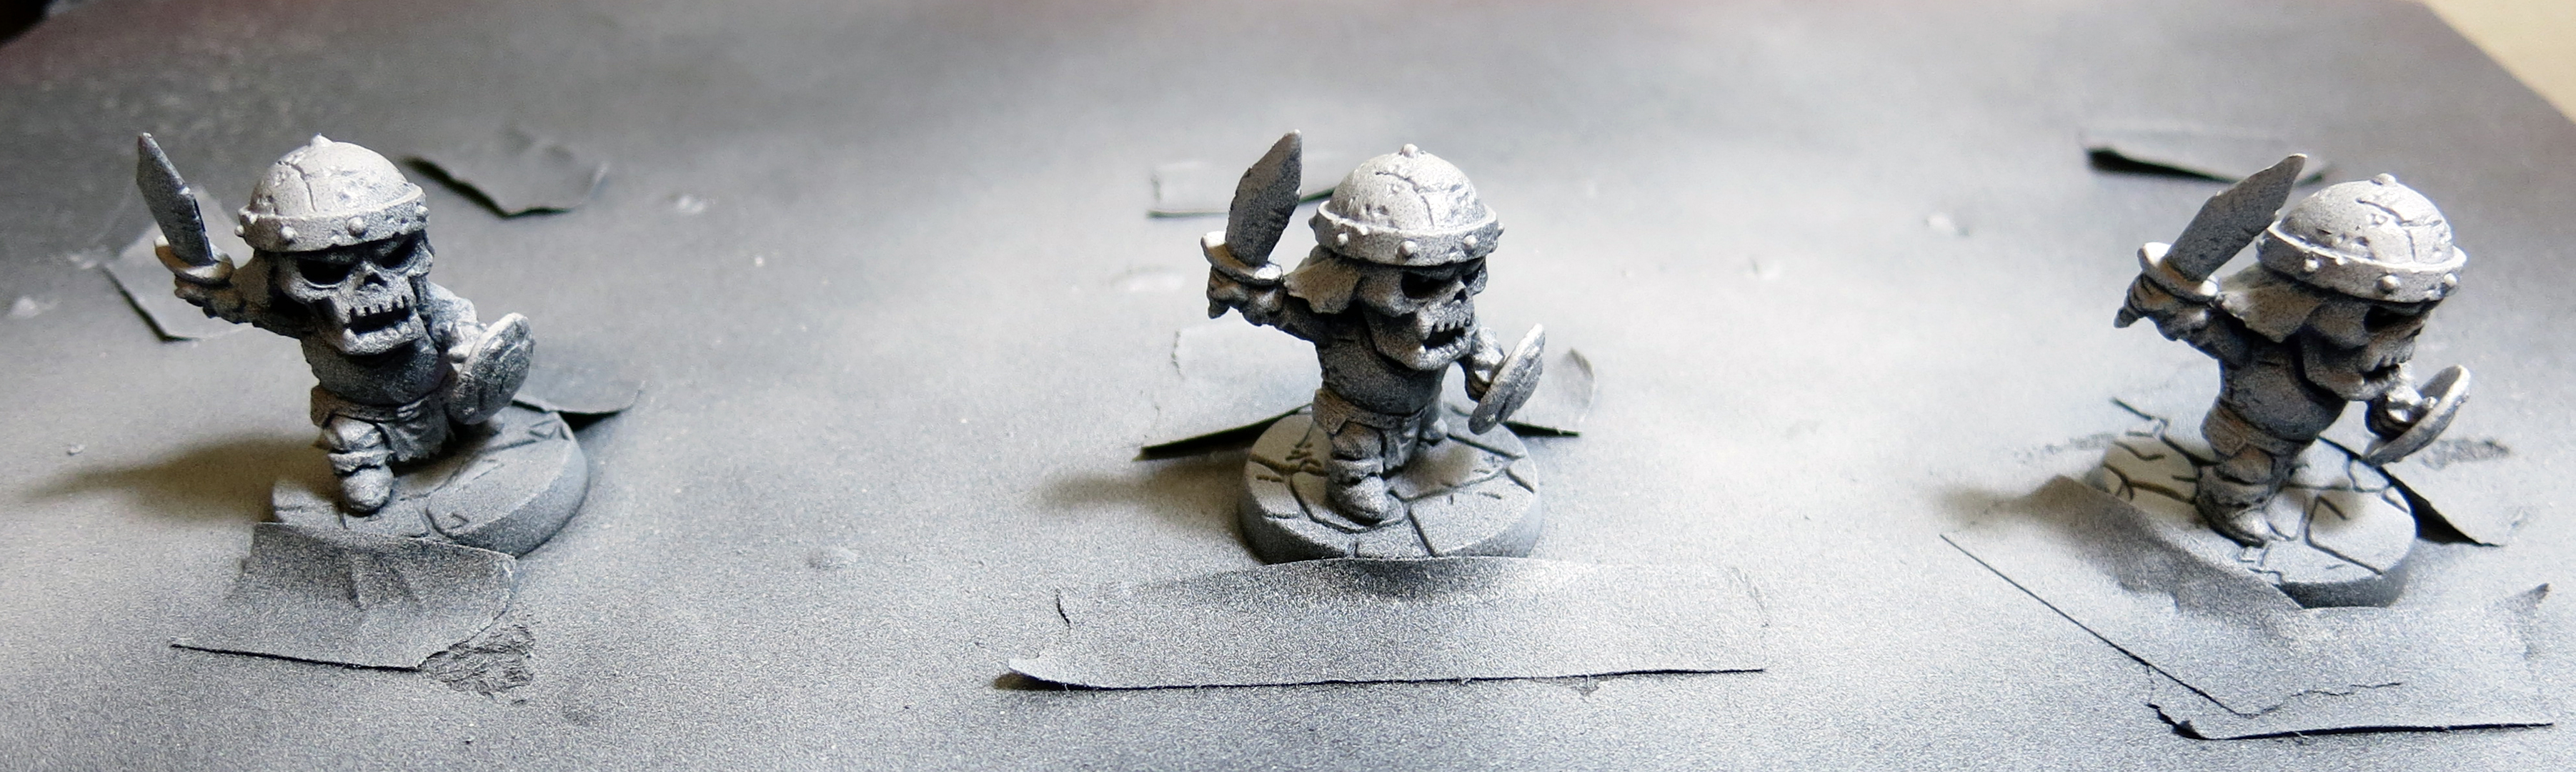
I don’t really have a preference for the color of primer that I use. It really depends on the project. If I’m planning on painting a lot of armor, I’ll use a metallic primer; if I plan on painting a lot of leather, I’ll use brown primer. I recently started using a combination of black primer first followed by a light dusting of white (a technique referred to as zenithal lighting miniature painters). I’ve found this to be great for bringing out the details in the model which makes paining and visualizing the final product much easier. Plus, it looks cool!
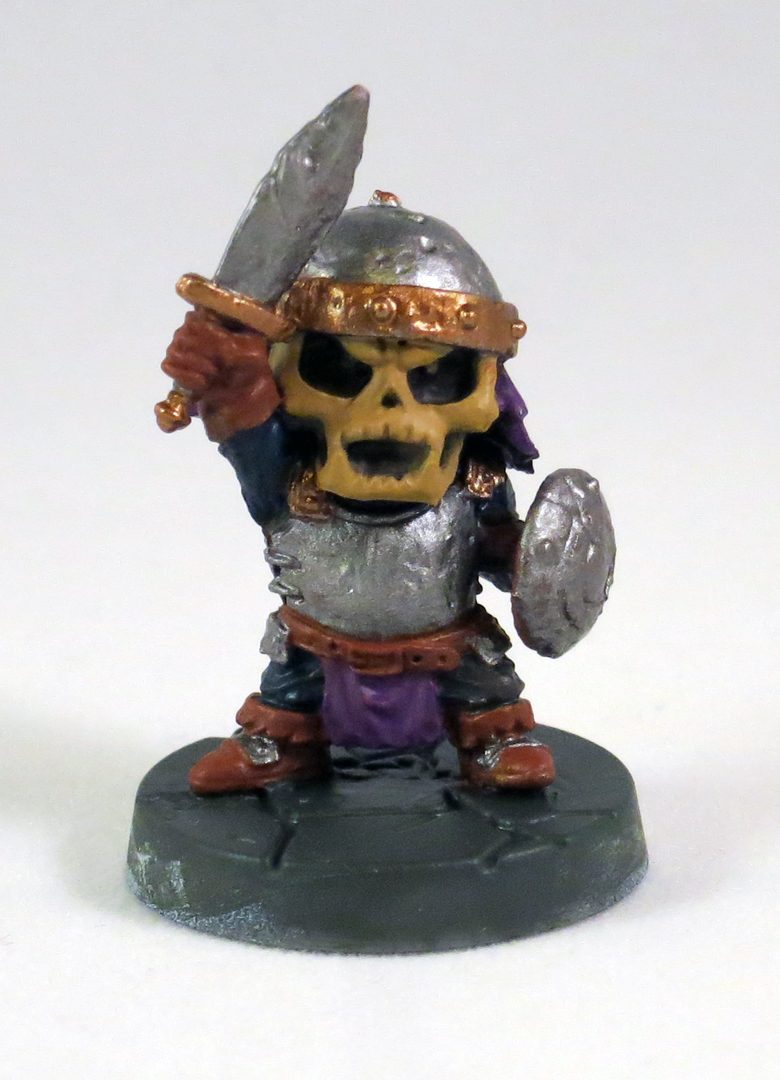
So now my model is all primed and ready to get painted. I start with base-coating the model with all the mid-tone colors. Base coating is by far my least favorite step of painting any model. It’s also the most important step. If you leave the paint too thick you’ll ruin the fine details and end up with an ugly blobby looking mini. If you water your paint down too much you’ll be painting base-coats all day. So you have to find that perfect Goldie Locks zone. This comes with practice but a general rule of thumb is to keep your paint consistency milk-like.
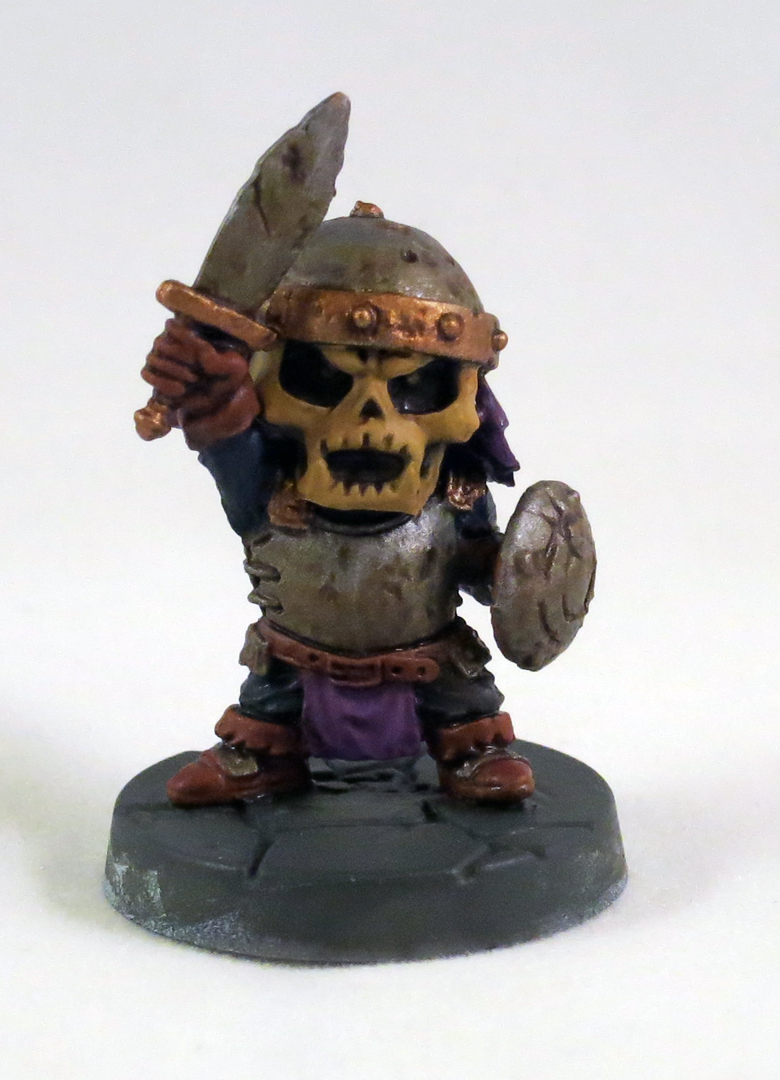
The next step I usually do for my model is give it a full body wash. A wash is a very watered down layer of pigment which, in this case, is used to create more depth and shading in the model. On this Bonehead I used a brown wash over the majority of the model, and a purple wash over the purple areas (duh).

At this point I recite a brief, magical incantation and place the model in the oven for 10 minutes at 350˚ and presto! The miniature is complete. Allow the model to cool for a few minutes and enjoy. 🙂
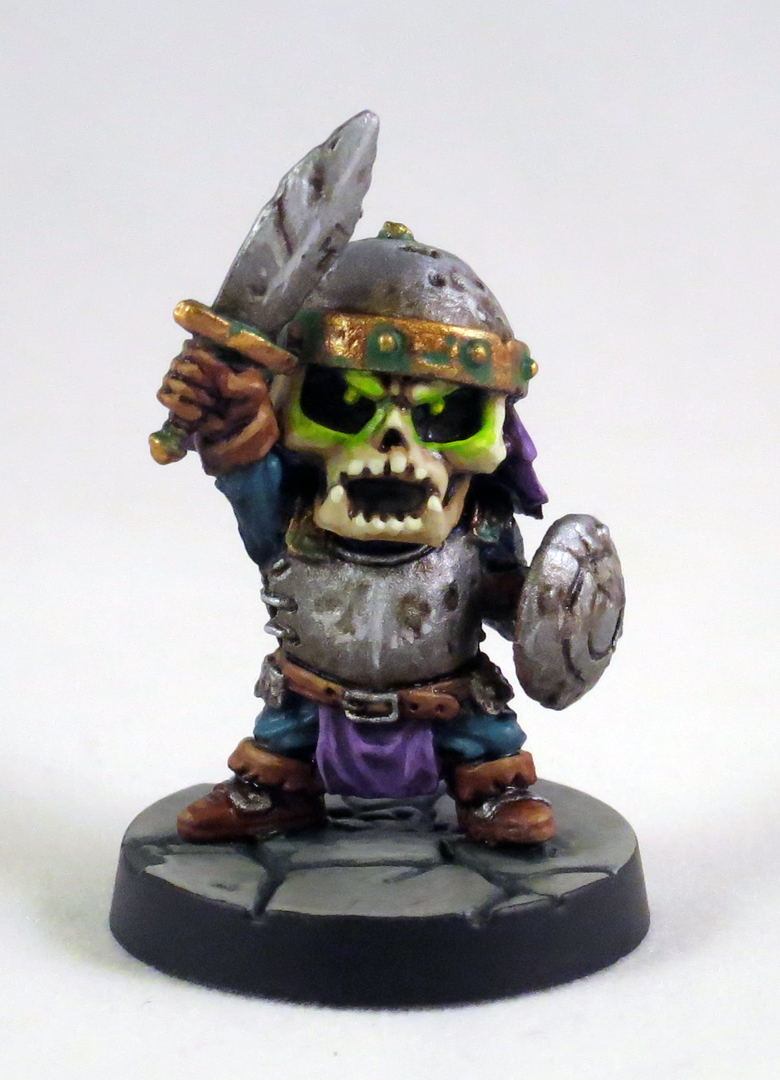
Okay, so the next few steps I won’t go into a lot of detail here. It involves a few techniques like blending, layering, dry-brushing and highlights, but I’ll get into all those in a future post.
Disclaimer: Don’t be a doofus and actually put your models in an oven. Later gators!
