
What’s in the Box?


Hello there fellow tabletop gamers (there’s one inside us all). Recently, I posted this image onto Wargamers Consortium-Infinity, a great Facebook group moderated by a friend of mine, Nestor Medina. Big shout out homie! To kickoff the new group WGC-I hosted a painting challenge, and these are my entries. However, this post isn’t going to be about the models, it’s going to be about the swanky crates you see in the background. What if I told you that for pennies a day you too can cover starving tabletops with terrain such as this? Well you can, and here’s how.
Here’s what you’ll need:
– Box cutter or X-Acto knife
– Corrugated paper
– Scissors
– Tape
– Paper glue
– Marker
– Cardboard granola bar or cereal box
– Box cutter or X-Acto knife
– Corrugated paper
– Scissors
– Tape
– Paper glue
– Marker
– Cardboard granola bar or cereal box
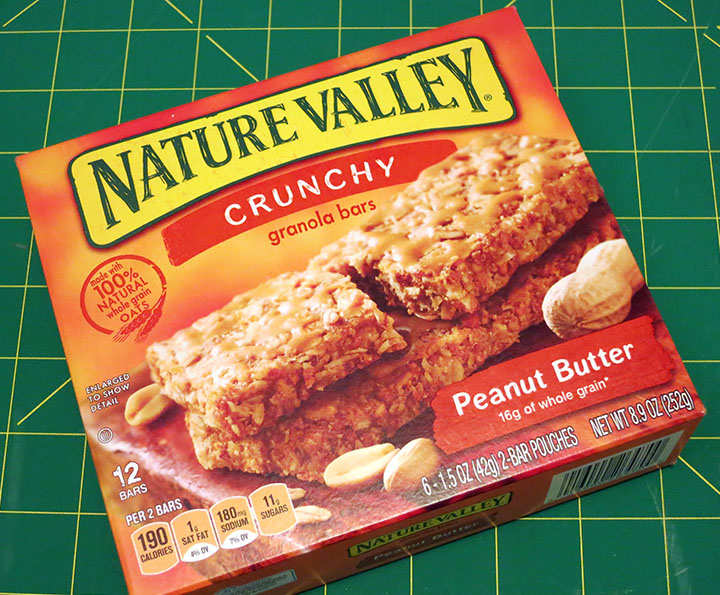 I’m not the most precise person when it comes to building terrain, which is why I like to use already made boxes as my underlying structure. Using this granola box I’ll be able to make two 2″ x 2″ x 6.5″ shipping crates with clean right angles.
First, tape the open end closed. I can’t be the only person that destroys the packaging on these boxes when I open them. So that’s what the tape is for. 🙂
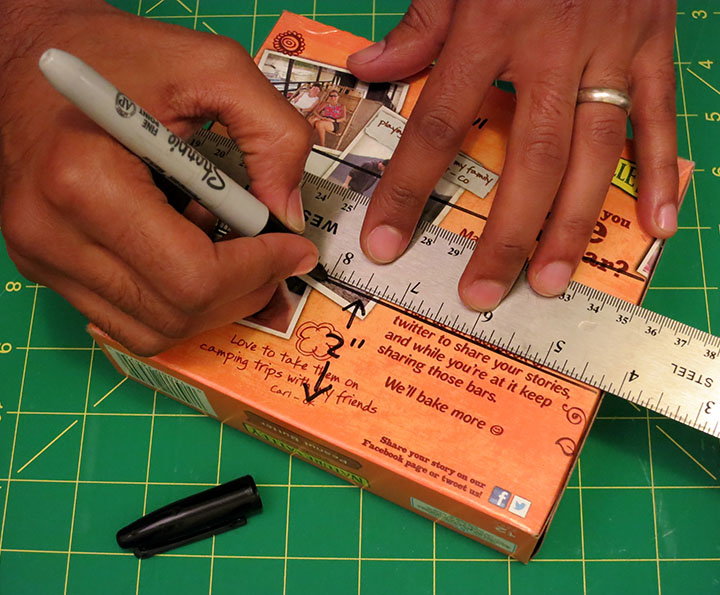
Next, 2″ measurements along the long edges of the box. Two is an easy number to remember, and fits the 28mm scale of all my tabletop games nicely.
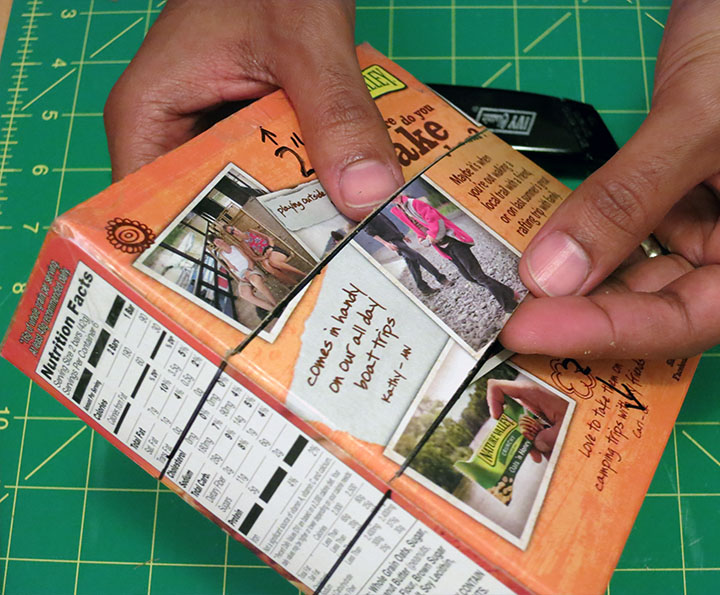

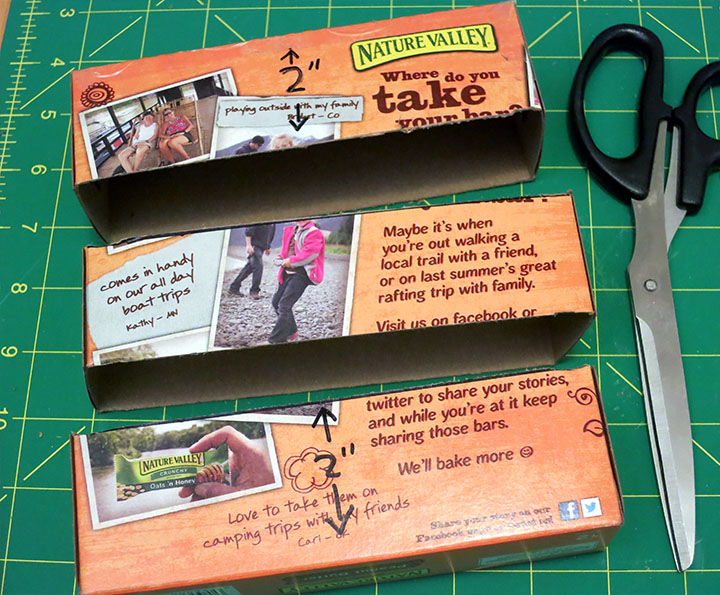
Cutting time! Okay, so slicing into a box that’s already assembled can be dangerous and unstable, but I find it to be way faster than deconstructing, cutting then reconstructing it. All that being said, I always do several light passes with a very sharp blade. Also, cut only the long sides using a blade and then finish the shorter sides with a scissor. Don’t worry if this doesn’t look super neat and accurate. You can fix that later.


I bought a 30″ x 20″ sheet of this corrugated paper from an art store for about 3 dollars. It’s great stuff and comes in several different colors. Since then, I’ve found it online for even cheaper.


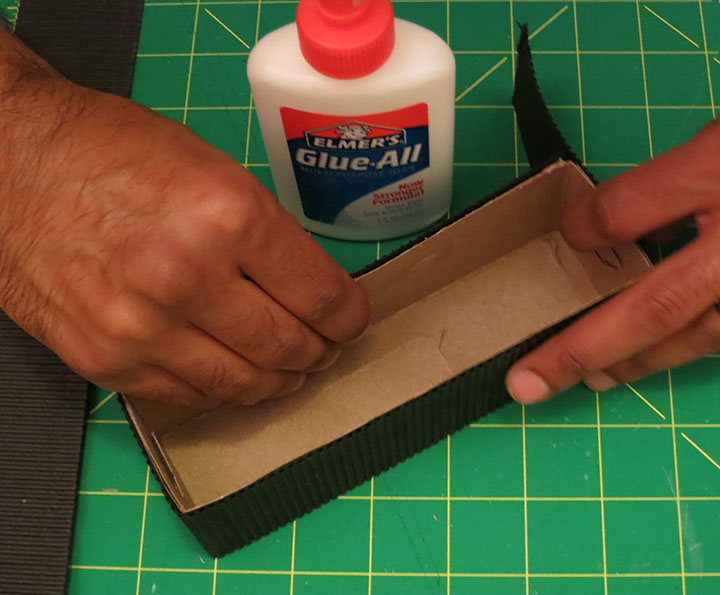
After cutting the paper into 2″ long strips I glue them onto the sides of the crate using paper craft glue. Turn the box top-side down onto your table. This’ll help keep the edges of the paper flush to the top of your crate. Then cut off the excess flap of paper with a scissor.


Do the same fro the top of your crate, and you’re almost done with construction!
Next I sliced a few .5″ stips of cereal box card.

Add some glue along the top edges of the box…

…and along the strips of card.
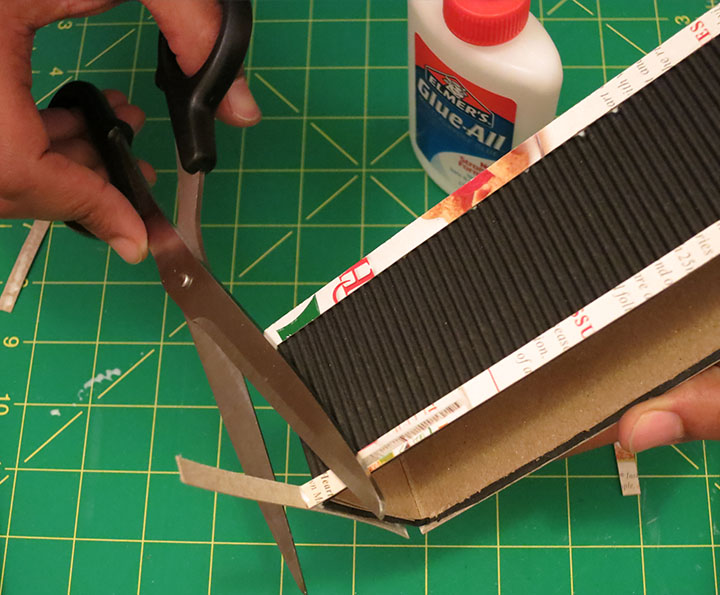
Then snip off the excess.
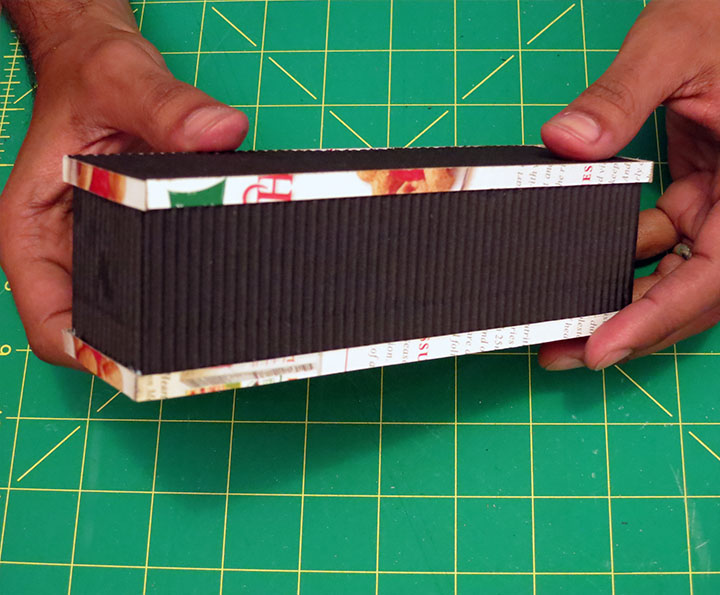
And there you have the final constructed product. Now this is a very simple concept, but you can do all kinds of interesting stuff using these simple techniques. Perhaps you’d like to add doors to your crate, or use this idea on bigger boxes to make entire buildings? Do your thing and have fun. 🙂
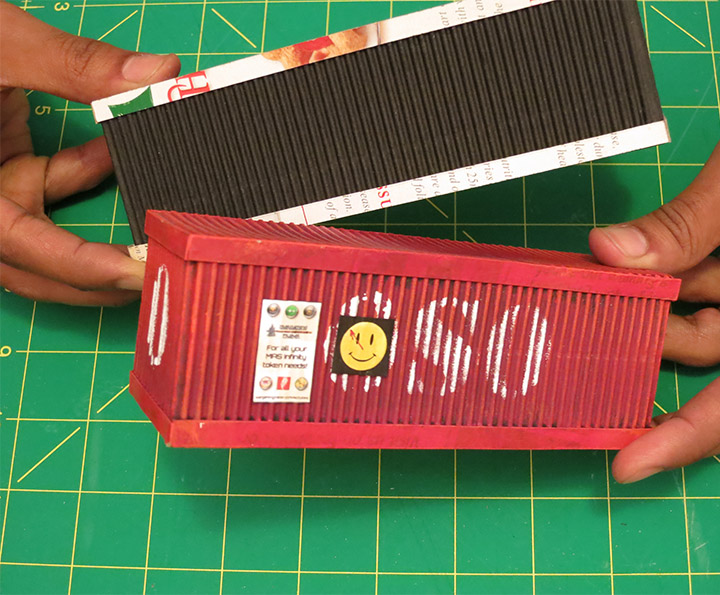 In my next post I’ll show you how to paint this bad boy up and add detail using stencils and posters. Thanks for reading and happy building!
Excellent tutorial and the process is easy, yet the result is absolutely convincing!
Thank you D&B! That’s exactly the result I was going for. In a few days you can cover an entire table (as long as you REALLY like to eat granola bars that is).
I like a granola bar her eand there, but I guess muesli boxes work as well and I am all game for muesli ;).